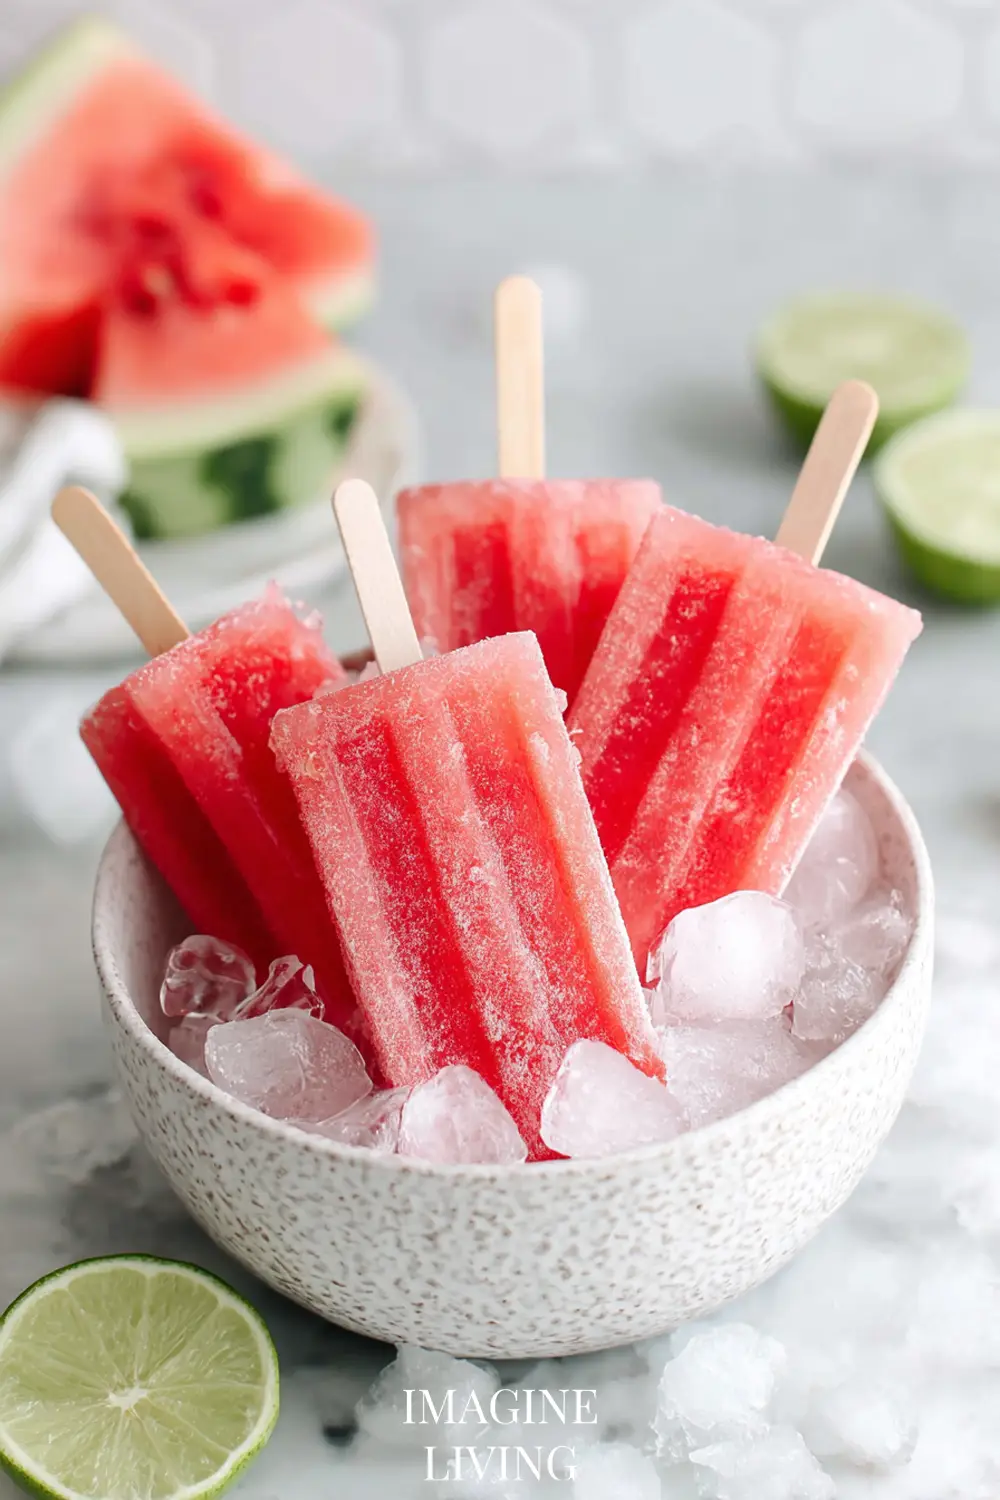
Homemade Watermelon Popsicles: A Cool Slice of Summer Joy
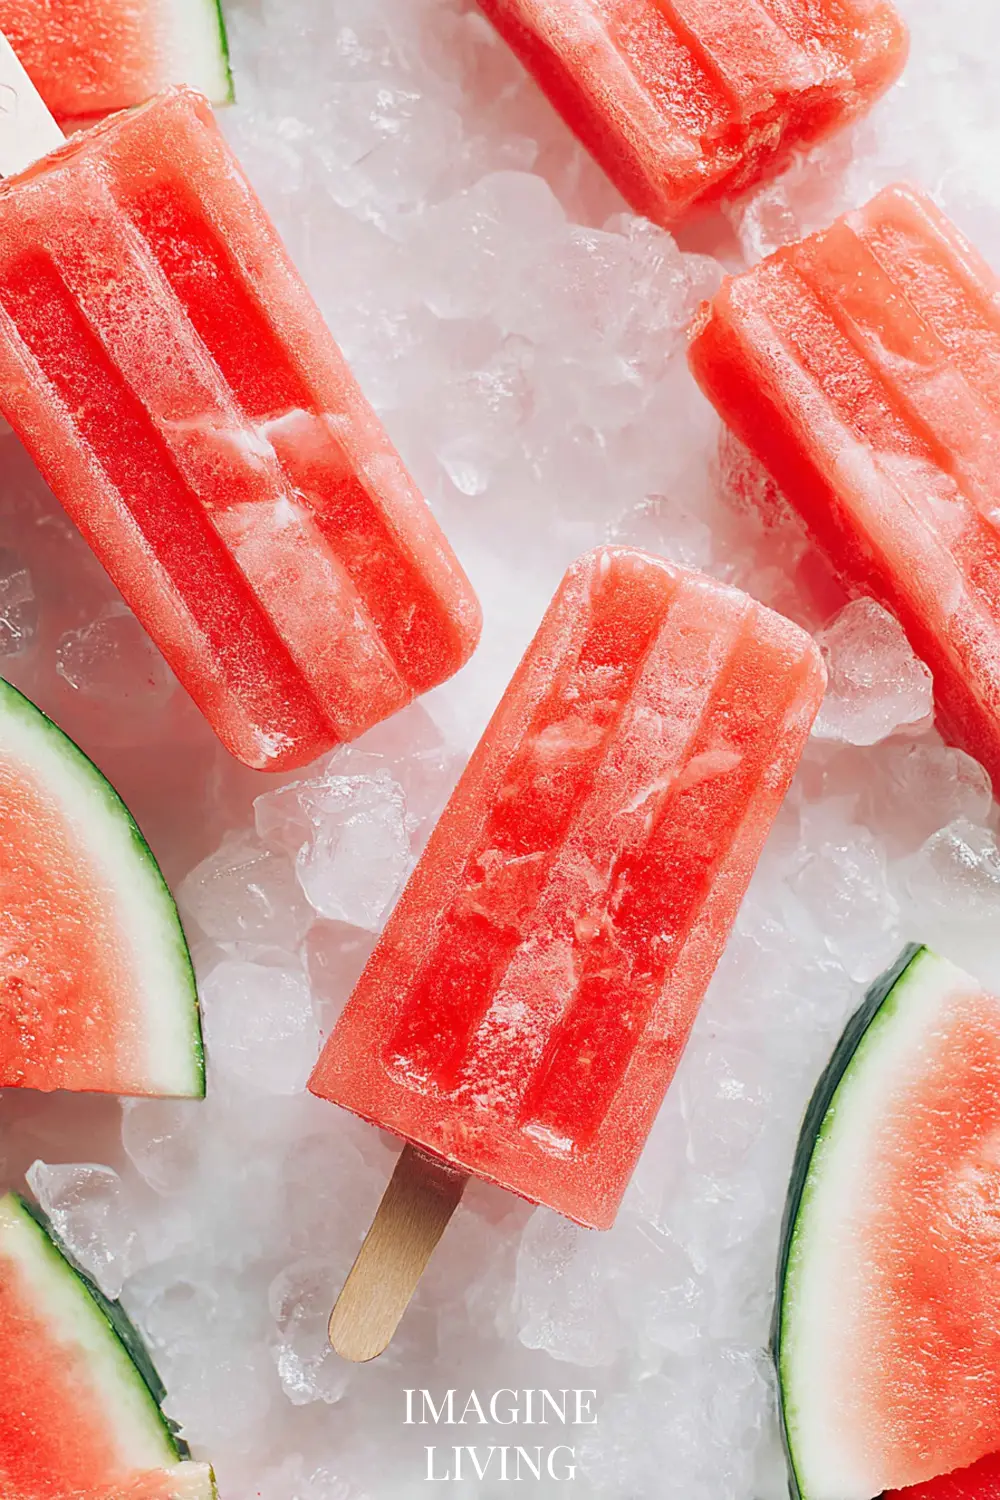
Sticky fingers, sun-warmed cheeks, and the satisfying snap of a frozen treat—homemade watermelon popsicles bring back the best kind of childhood nostalgia. With their vivid color and burst of fresh fruit flavor, these easy summer coolers are as fun to make as they are to eat. Imagine biting into a frosty wedge, juice dribbling just slightly, and cooling down instantly on a hot afternoon.
“Summer is a state of mind, and watermelon is its anthem.”
Why You’ll Love This Recipe
This watermelon popsicle recipe is the easiest way to stay cool and hydrated while enjoying a healthy, homemade snack. Here’s why you’ll keep coming back to these:
- Naturally sweet with no added sugar.
- Just 3 ingredients and 10 minutes to prep.
- Kids and adults both love them.
- Great for batch-making and freezing.
- A refreshing way to use up extra watermelon.
“Cooking is love made visible.”
Ingredients: What You Need for Easy Homemade Watermelon Popsicles
Makes about 6 popsicles
For the Watermelon Base
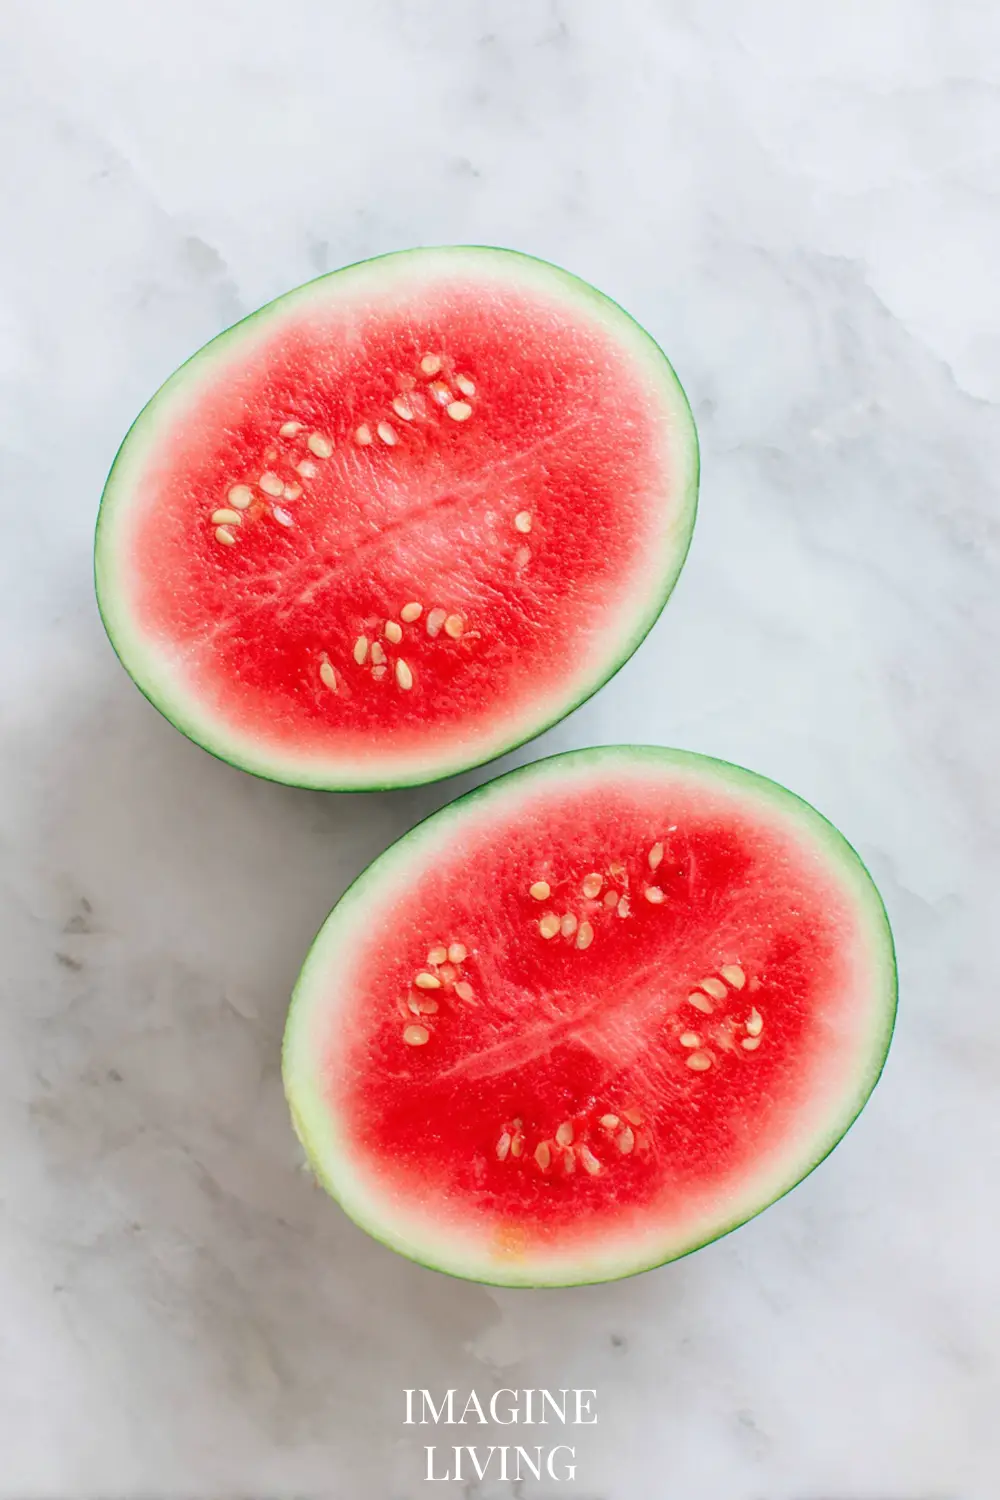
- 4 cups fresh watermelon, cubed and seedless
- 1 tablespoon lime juice, freshly squeezed
- 1 teaspoon honey (optional, depending on sweetness of watermelon)
Equipment Needed
- Blender
- Fine mesh strainer (optional for smoother texture)
- Popsicle molds
- Popsicle sticks
- Freezer-safe tray
Step-by-Step Guide to Perfect Homemade Watermelon Popsicles
Step 1: Blend the Watermelon
Add the watermelon cubes to a blender. Blend until smooth, about 30–60 seconds depending on your blender.
Tip:
If your watermelon has seeds, strain the puree through a fine mesh sieve for a smoother popsicle.
Step 2: Add Lime and Sweetener
Stir in the lime juice and honey (if using) into the watermelon puree. Taste and adjust sweetness as needed.
Tip:
Lime enhances the fruitiness and gives a subtle zing—don’t skip it even if your watermelon is super sweet.
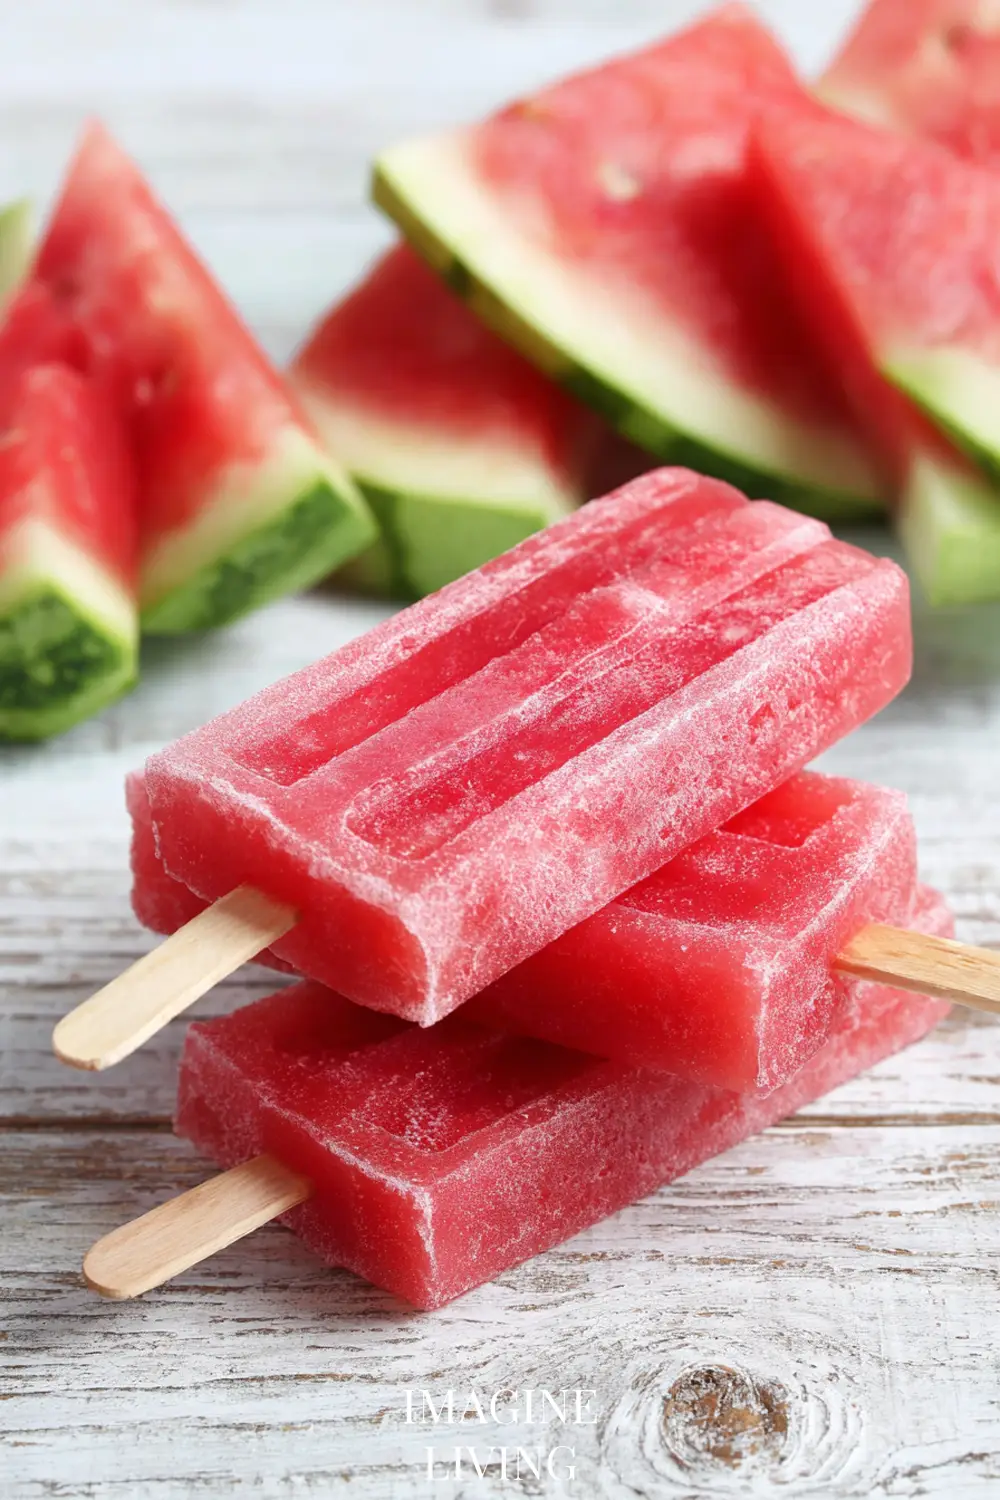
Step 3: Pour into Molds
Pour the mixture into popsicle molds, leaving a little space at the top for expansion.
Tip:
If you don’t have molds, use small paper cups and insert wooden sticks once the mixture is partially frozen (after 1 hour).
Step 4: Freeze
Place molds in the freezer for at least 6 hours, or until completely solid.
Tip:
For easy unmolding, run warm water over the outside of the mold for a few seconds.
“Each popsicle is a moment of joy frozen in time.” – Imagine Living
Time Needed
- Prep Time: 10 minutes
- Freeze Time: 6 hours
- Total Time: 6 hours 10 minutes
Cool treats are worth the wait, especially when they only take minutes to make!
Pro Tips for the Best Homemade Watermelon Popsicles
- Use very ripe watermelon for maximum natural sweetness.
- Blend thoroughly for a smoother texture, especially if serving to kids.
- Add a pinch of salt to enhance the watermelon flavor.
- For a gourmet touch, mix in chopped mint before freezing.
- Freeze overnight if you’re making them for a next-day gathering.
- Make extra batches—you’ll be surprised how fast they disappear.
- Store in silicone molds to make unmolding easier and quicker.
- For layered popsicles, freeze in stages with other fruits like kiwi or mango.
- Use silicone funnels to pour into molds without spilling.
- Freeze upright on a tray to prevent popsicle sticks from shifting.
“Imagine the clink of icy molds being set in the freezer, full of promise.” – Imagine Living
Creative Variations: Add a Twist to Your Watermelon Popsicles
Minty Melon Pop
Add a few mint leaves to the blender before pureeing.
Tip:
Mint adds a refreshing lift—perfect after outdoor play or garden work.
Coconut Cream Swirl
Swirl in 1 tablespoon of coconut milk per mold for a creamy twist.
Tip:
Use a skewer to gently marble the layers before freezing.
Berry-Watermelon Mix
Add 1/2 cup of fresh strawberries or raspberries to the blender.
Tip:
Berries give a tart edge and deepen the color beautifully.
Tropical Fusion
Blend in pineapple chunks or a splash of pineapple juice.
Tip:
Pineapple makes the pops even juicier and adds island flair.
Cucumber Chill
Add 1/4 cup peeled cucumber for a spa-like vibe.
Tip:
Cucumber mellows out the sweetness for a more adult-friendly version.
Watermelon Lemonade
Swap lime for lemon juice and add a lemon zest pinch.
Tip:
Lemon juice offers a bright contrast—great for brunch coolers.
Watermelon Basil Burst
Muddle fresh basil and add just before freezing.
Tip:
Ideal for garden party servings—unexpected yet elegant.
Serving Suggestions
These homemade watermelon popsicles are delightful solo, but here’s how to make them shine even more:
- Serve alongside fresh fruit skewers for a colorful dessert tray.
- Pair with sparkling water or lemonade for a cooling treat.
- Use as an ice cube alternative in summer punch bowls.
- Offer after spicy dishes to cool the palate.
- Garnish with a mint sprig for a playful presentation.
Storage and Reheating
Homemade popsicles store beautifully when done right:
- Keep popsicles in their molds or transfer to an airtight freezer bag.
- Separate layers with parchment to prevent sticking.
- Best enjoyed within 2 weeks for peak flavor and texture.
Tip:
Label bags with the freeze date—these disappear fast in busy households!
Common Mistakes to Avoid
Using Under-Ripe Watermelon
Under-ripe melon can lead to bland popsicles.
Tip:
Choose fruit that feels heavy, sounds hollow, and has a creamy yellow spot underneath.
Skipping the Lime
Omitting citrus flattens the flavor.
Tip:
Lime juice brightens and balances the natural sweetness—don’t skip it!
Overfilling Molds
Filling to the brim causes overflow and sticking.
Tip:
Leave 1/4 inch of headspace for expansion during freezing.
Not Inserting Sticks at the Right Time
Too early and they sink; too late and they won’t stick.
Tip:
If using cups, insert sticks after about 45–60 minutes of freezing.
Forgetting to Strain
Seeds or pulp can disrupt the smooth texture.
Tip:
Strain your puree if you want a refined finish, especially for guests.
Storing Too Long
Flavors can dull after a couple of weeks.
Tip:
Plan to enjoy them within 14 days for best results.
FAQs
Can I Make These Without a Popsicle Mold?
Yes! Use paper cups and wooden sticks.
Tip:
Cover the cups with foil and insert sticks through the top to keep them upright.
Are These Popsicles Vegan?
Absolutely—they’re dairy-free and naturally vegan.
Tip:
Skip the honey or replace it with agave syrup if needed.
How Can I Make Them Creamier?
Add a bit of coconut milk or Greek yogurt for a creamy twist.
Tip:
Swirl gently to preserve that lovely layered look.
Can I Use Frozen Watermelon?
Yes, thaw before blending for easier mixing.
Tip:
Frozen chunks yield a slushier texture—ideal for instant coolers.
Will They Work with Other Fruits?
Definitely—strawberries, mangoes, or peaches all blend beautifully.
Tip:
Just maintain a 4-cup fruit base for consistent results.
How Long Do They Take to Freeze?
About 6 hours, or overnight for best firmness.
Tip:
Set a timer so they’re ready right when you need them.
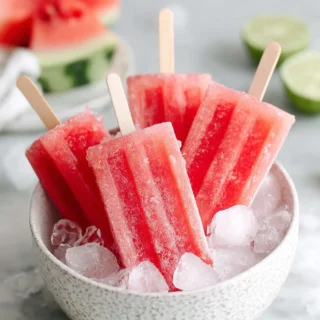
The Heartwarming Cool of Watermelon Popsicles
Few things whisper “summer” quite like a homemade watermelon popsicle, glistening in the sun and full of hydrating, fruity flavor. Whether you’re relaxing on the porch or cooling off after a backyard game, these easy, refreshing treats promise joy in every bite.
“Let your summer be sweet and simple, one frozen bite at a time.” – Imagine Living
Homemade Watermelon Popsicles
Equipment
- Blender
- Fine mesh strainer (optional)
- Popsicle molds
- Popsicle sticks
- Freezer-safe tray
Ingredients
- 4 cups fresh watermelon cubed and seedless
- 1 tablespoon lime juice freshly squeezed
- 1 teaspoon honey optional, depending on sweetness of watermelon
Instructions
Step 1: Blend the Watermelon
- Add watermelon cubes to a blender. Blend until smooth, about 30–60 seconds.
Step 2: Add Lime and Sweetener
- Stir in lime juice and honey (if using). Taste and adjust sweetness as needed.
Step 3: Pour into Molds
- Pour mixture into popsicle molds, leaving 1/4 inch of space at the top.
Step 4: Freeze
- Freeze for at least 6 hours or until solid. Run warm water over molds for easy release.